Sprinklers in Dallas: How to Winterize Your Irrigation
Posted on October 15, 2025
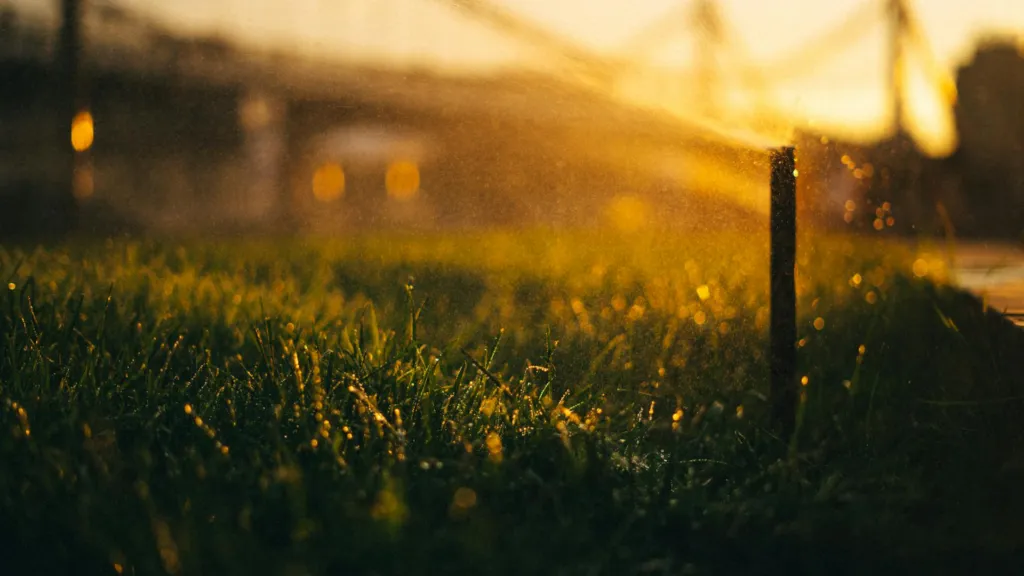
Cold Weather Is Coming…Are Your Sprinklers Ready?
Sprinkler winterizing in DFW? Absolutely. If you have an irrigation system, you’ll need to prepare it before cold weather is a reality. No one likes to do it, but failure to winterize will leave you paying costly spring repair bills.
Don’t do this and you could be left with shattered sprinkler heads, frozen pipes, and fractured valves. The even worse case scenario? You might not even realize the damage has occurred until you switch everything back on a few months later.
So we’re discussing when to winterize your sprinkler system, your options, and more!
Why Is Sprinkler Winterization Essential?
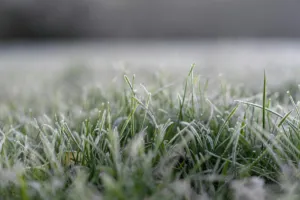
Winterization, in short, is all about draining all of the water. To the very last drop, even. The premise is to have your pipes, valves, and sprinkler heads dry and vacant with nothing for winter weather to ruin.
When this is not done, pipes are usually the first to be affected. They break and crumble. Plastic valves shatter, and sprinkler heads get pushed straight out of their place because of the ice building up inside.
Here’s what to remember regarding other systems. Most of the newer ones are brittle white PVC pipe or flexible black polyethylene. The PVC is extremely brittle, so it shatters with no give when it freezes. Polyethylene will withstand the cold better because it flexes, but even that will burst if there is water in it and it expands.

What’s the Optimal Month to Winterize Sprinklers in Dallas, TX?
The biggest thing is that you do it before the temperature drops below freezing. Obviously, exact timing will depend on where you are.
In more northern states, you’re generally looking at around late September to early November. If you’re in the mountains or have some part of high altitude, you’ll want to winterize the sprinkler system even earlier.
Down south in Texas, it’s either late November or early December. A few of the southern regions of the nation may not even require it at all. Call our friends at Andy’s Sprinkler, Drainage & Lighting for more details.
Although most of their locations are in southern and coastal regions, they do provide extra winterizing in those regions where they expect protracted freezes.
Again, don’t wait until the last minute! Everyone’s thinking about it on the first day when it freezes, but of course, it’s more disorganized then. Preparing ahead of time avoids the hassle.
Three Winterization Options for Sprinklers in Dallas
Drain It Manually
This one is the most hands-on. Start by shutting off the primary water shut-off to your plumbing system. Sounds easy, but people forget this process too many times. Closing a hose spigot doesn’t count. You’ll actually have to dig around and find the real main shut-off valve, and it’s probably stashed away in your basement or utility closet somewhere.
Second, open all of your low-point manual drain valves. Then go to your controller and run one full cycle with the water already shut off. This will activate all your automatic valves and allow any trapped pressure in the mainline to be relieved. Once that cycle is finished, place your controller in the rain position or off.
Good news regarding this process? It won’t cost an arm and a leg. Bad news? Water prefers to seek out low ground or annoying areas, and you’ll likely miss some.
Is it a do-it-yourself project? If your system contains drain valves that must be manually opened and you feel handy enough to find them and open them, go ahead.
Drain It Automatically
If your system is pre-installed with this setup, half the job is already done. Automatic drain valves kick in and release water every time pressure drops below a predetermined value.
But that’s where it all gets mixed up. They are great for lateral lines and sprinkler heads, but they won’t even touch the main line. You still need to drain that mainline yourself…or you’re asking for a big break. Also, inspect any valves that you have, because they also trap water.
The good news about this winterizing solution? It doesn’t actually require any effort from you. The bad news? It’s not perfect. You may still need to do some additional work just to make sure.
Can you do it yourself? Mostly. But you should understand what your system can and cannot do.
DIY Sprinkler Blowout
This is done through a big air compressor that blows compressed air out through your pipes to force out all the water. It’s effective, no matter where you reside or the kind of system you have.
The issue is that you need some equipment that provides you the right PSI (pounds per square inch) and CFM (cubic feet per minute). You’re generally discussing 40 to 80 PSI and a compressor that provides you 30 to 100 CFM. Keep the pressure too high and you could end up doing more bad than good. Set it low and there’s water left behind.
Nothing will drain your system any quicker though. But you need special equipment, and you’re taking a risk if you have no clue what you’re doing.
Will your irrigation system need a blowout? Only if you live in an area of extended freezes. Most of our clients, though, are in warmer areas that don’t need blowout servicing.
And what about other winterization alternatives? Seasonal take-out or insulating above-ground irrigation components. This keeps your system safe from surprise cold snaps and other surprise weather conditions.
Winterization Tasks That Are Often Forgotten
- Forgetting the backflow preventer. It’s extremely costly to replace, and it needs its own special care. You’ll need to drain it and insulate it separately from the others.
- Missing a zone. It only takes one zone that has water left sitting in it to become a total disaster.
- Using the wrong compressor. That little compressor you’ve got in the garage isn’t going to cut it. You’re going to need something with a bit more oomph for sprinkler winterization.
- Small things that cause large problems. Our irrigation partners can identify leaks and damage before winter sets in. They also inspect spray patterns, ensuring water is not hitting concrete or hardscapes, where it will freeze and cause problems.
- Waiting too long. Don’t wait to hear the first freeze warning on the news. By then, every irrigation company in town is getting slammed with calls, so you’ll be waiting.
- Not double-checking. Simply go back and inspect the low areas and valves to make certain water is not accumulating anywhere. It’s a few minutes extra.
DIY Winterization vs Hiring a Professional
You can get your hands dirty if you want, just know what you’re getting yourself into.
- The biggest danger of a DIY blowout is that you will over-pressurize your pipes. It’s easier than you think. And once those pipes are busted, you’re looking at the very same repair you were trying to avoid in the first place.
- There is always a chance you don’t get all of the water out. Maybe you struck a low spot, or a spot didn’t drain. You won’t know until it freezes and then becomes a problem.
- Additionally, warranties on some systems are voided if you do not have a professional maintenance service done. It never hurts to call ahead so you don’t save a hundred dollars today only to risk losing coverage on a thousand-dollar sprinkler system.
There are certainly some advantages to having a pro winterize a sprinkler system.
- It’s done quicker and better.
- It’s all done safely. The best part is, you’re not there doubting yourself the whole time.
- You won’t get as many surprise, costly repairs. A professional irrigation technician makes sure it’s drained and covered properly, so you’re not coming out in April and seeing burst pipes and broken valves.
Basic Steps for a DIY Sprinkler Blowout
For those who want to do it themselves, here’s a quick breakdown of how to do it. You’ll need to be really careful with each step.
- Start by shutting off the water supply to your irrigation system and de-energizing the power to the controller.
- Next, vent the pressure in the system. Open a sprinkler head on whatever zone is farthest from your compressor.
- Connect the air compressor to the blowout port on your system. Make sure to use the correct adapter for this purpose.
- Start with the zone that is either the most distant from the compressor or the highest.
- That’s the time when you need to be careful. Fill slowly with air. Slowly open that valve on the compressor. Don’t go over 80 PSI if you’re using PVC pipe (50 PSI for polyethylene).
- Observe your sprinkler heads. You’ll first notice a solid jet of water. Let it keep going until all you can see is a thin, see-through mist of air.
- Drive through all of your zones separately and do so a number of times.
- When you are at the very end zone, leave one of the sprinkler heads open while draining off the compressor and closing the valve. This drives out any excess air pressure.
- Shut down the compressor and make sure that all of the valves in your system are closed.
You might need to run each zone twice to be double sure that you drained all of the water.
FAQs About Sprinkler Winterization
Can I water my lawn during winter?
Yes. Just adjust winter watering schedules. Continuous watering keeps your lawn healthy until spring.
What do I do if I don’t winterize my sprinkler system?
Shut off water to system and set controller to “rain mode” immediately. Then have a pro drain it as soon as possible. It’s not ideal, but at least you’re trying.
Can I just not winterize if I live in a warm climate?
If your winter temperatures are never going to dip below freezing, you can just turn off the system. But if you’re seeing temperatures below 32 degrees Fahrenheit forecast in the weather, it’s better to be safe than sorry.
What PSI is best for a blowout?
Never exceed 80 PSI. In flexible poly pipe, never exceed 50 PSI to avoid damage.
How long will a blowout take?
A do-it-for-you professional blowout for the typical residential sprinkler system will cost around 30 minutes, but a DIY blowout will take an hour or more.
How will I know it’s blown out?
When a zone is finished in a blowout, you will know because the sprinkler heads will be blowing out a clear, fine mist instead of wet spray.
A Few Final Sprinkler Winterization Tips
- Insulate exposed portions. Purchase foam insulation covers and cover your backflow preventer and any above-ground pipe.
- Turn off your controller. Turn it completely off or put it on rain mode. Do not just unplug it. If they contain a backup battery within, leave it. It’s actually keeping the unit from forming condensation within.
- Think about a smart controller. Some of the newer Wi-Fi controllers possess rain sensors and freeze alerts, which enable them to automatically turn off the system when it is too cold. This will save your lawn, roots, and sprinkler system from significant damage!
- Look after your hoses. Remove all of your garden hoses, make sure they’re fully drained, and bring them inside. Then put some insulated covers on your outdoor faucets.
Get Ready to Winterize Your Irrigation System!
Winterizing your sprinkler system is not too terrible, especially if you get a professional to do it for you! But it’s a necessary winter task that saves your yard and keeps you away from costly repairs.
That’s why we joined forces with Andy’s Sprinkler, Drainage, and Lighting. Here’s what their customers love about them:
- Certified, seasoned technicians
- Systems tailored to your own special yard
- High-quality, lasting materials
- Stress-free experience
Reach out to Andy’s before winter to schedule your sprinkler system check in Dallas, TX!